Step One: Determine the size of your power needs.
Making good decisions requires lots of research from personal and internet sources. Unfortunately at my sailing club only 6 people had solar on their boats and only a few seemed properly mounted.
One person I thought offered a lot of good advice was Will Prowse with DIY Solar Power on Youtube. Based upon many of his recommendations I made the following choices.
First I determined how much power I would need to generate. I upgraded all Navigation and interior lights to LED. I wanted a freezer/refrigerator and pumps for water and bilge. That was about it. I calculated my energy needs to be 30 amps per day.
Step Two: Batteries
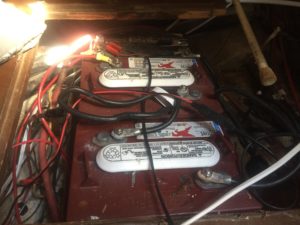
I purchased 2 Trojan T105 6 Volt lead acid batteries otherwise known as flooded batteries (golf cart batteries) with a combined 20ah rating of 240 amps. Golf cart batteries excel above traditional batteries because they can be recharged from half empty (you never want to discharge below 50% capacity with lead acid) over 1200 times where as standard batteries only 150 times. Battery marketing of energy output is purposely confusing. You want a deep cycle battery and amp hours measured in 20 hour ratings. I wired the Trojan 6V batteries in series to make 12 votls and added in the 12v starter battery (already owned) in parallel. $135 ea. Total $270
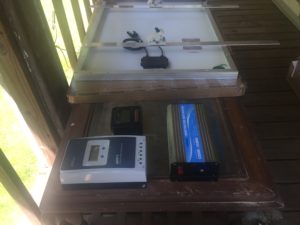
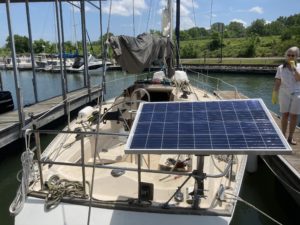
Step Three: Solar Panels
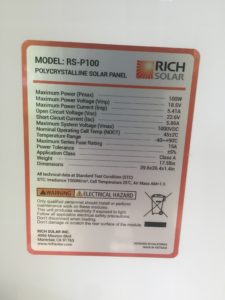
Next I selected a Rich 100 watt poly solar panel. It was 2’x3′ weighing about 20lbs. In good sunlight for 5 hours it should generate 500 watts or (500/12) or 41 amps.
I failed to order the wire to connect panel to controller but later rectified.
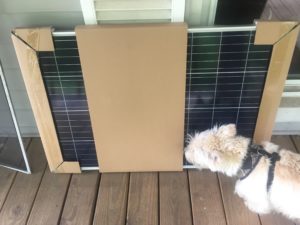
Cost $89
Step Four: MPPT Controller
I purchased a 30 amp MTTP controller by EPever with separate digital display. The MT50 digital display is a must.
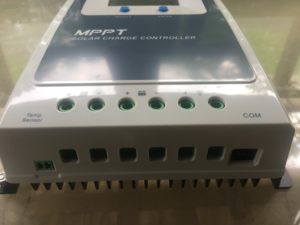
Cost $130
Step 5: Inverter
I purchased a 1200 Watt invertor by Giandel. Great for charging computers, tool batteries or almost anything AC.
Cost: $189
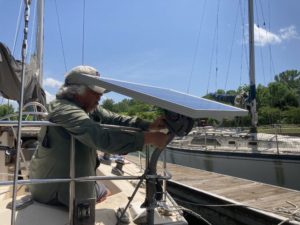
Step Six: Mounting the Solar Panel
Then I had to figure out how to mount the solar panel. This may have been the hardest part. Options ranged from anodized aluminum mounts for $389 to $100. One friend spent over $1500 to mount to poles.
I wanted a mount that was adjustable depending on sun direction and angle.
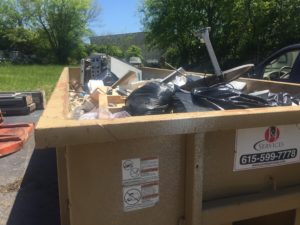
I noticed a local roofer was always placing TV satellite dishes in the trash.
I pulled one out of the dumpster, broke it down and realized it could work. Slightly intimidated, I took all the parts to a local machine shop to put together. After days of delay I went back to pick it up and determined to do it myself.
I used a grinder to cut off an unwanted part. My first time but it was easy. I tested on my back porch to see if it would work.
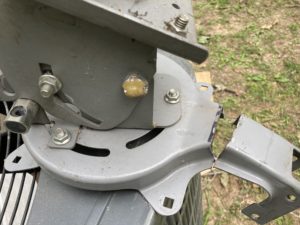
Then I cut 2 aluminum angle bars to size and drilled holes to mount the dish head to bars and bars to solar panel frame.

Discovering how to mount to boat again became problematic. I was considering a 5′ pole and trying to stabilize it.
Then I was walking the dock and saw a satellite dish on a boat.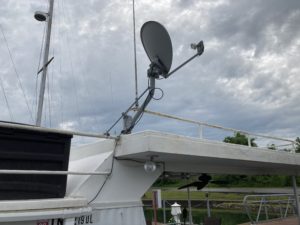
Final issue was to address different metals and the effects from salt air.
Steel is painted so it will not rust. Solar panel frame is anodized aluminum so it will not oxidize. Bracing is aluminum that will oxidize but not deteriorate.
I used stainless steel bolts, nuts, washers.
Total Cost: $25 for stainless steel parts.
Step Seven: Run wiring
Wires to solar panel are all plug and play. They ran in side the tube holding solar panel and below deck to batteries. From Solar panel to Controller was not hard but make sure bare wires are securely fitted.
Step Eight: Mount Controller
Make sure it is in a dry place. The plug and play MT50 has plenty of wire to move to Nav Station.
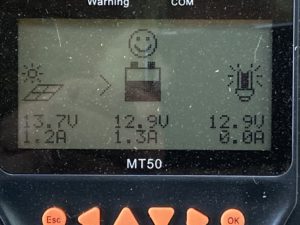
Step Nine: Hook it all up
Program controller to your specific battery type: Flooded, AGM, Lithium. You should see solar panel icon on left bringing in Voltage/Amps, then moving to the right the battery charge icon and status and to the far right is the load icon if your want to hook up a load like a refrigerator that will turn on and off if battery charge gets low.
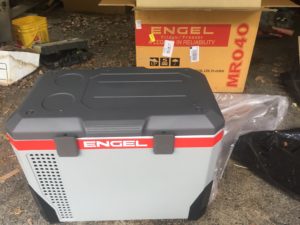
Step Ten:
Get your self a new Engle refrigerator and enjoy a cold beverage. $890 (price not factored)